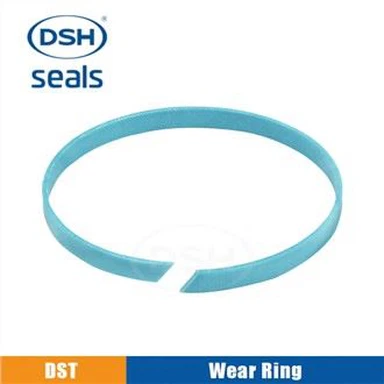
The correct way to install a skeleton oil seal
Nov 21, 2022
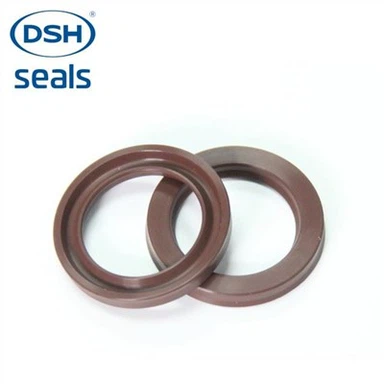
DSH seals tell you! Oil seal in the shell hole installation method, oil seal assembly for the shell hole surface roughness, surface quality is particularly important. In the assembly should check its inner wall has no debris, scratches, dust and casting grit, etc., should use special tooling will skeleton oil seal smoothly pushed into the shell seating hole.
The inner diameter of the oil seal is usually smaller than the diameter of the shaft, forming a certain amount of interference, which can easily cause damage to the lip when assembling the oil seal. To prevent damage to the lip of the oil seal, a conical shoulder or conical tooling is generally used for assembly. If the shaft has threads, grooves and splines, the conical shoulder assembly is not valid, and special assembly tools are needed to protect the oil seal lip, i.e. a protective sleeve at the threads, grooves and splines to avoid the oil seal lip being damaged by the sharp corners, threads, grooves and splines on the shaft.
Installation procedure of skeleton oil seal and precautions for assembly
◆From the collection of the oil seal to the assembly, it must be kept clean. Do not tear the wrapping paper too early before the oil seal is installed to prevent debris from being attached to the surface of the oil seal and brought into the work.
◆Make a good machining inspection procedure before assembly, whether the dimensions of each part of the oil seal match with the dimensions of the shaft and cavity. The end face of the shaft and cavity should be machined smoothly, chamfered without damage and burrs, and the assembly part should be cleaned. The shaft and the seat hole should be machined with 15 to 30 degrees of assembly chamfers, especially the inner to corner, without slope, and it is recommended to use rounded chamfers for the assembly part. There should be no burrs, sand, iron chips and other debris in the part where the shaft is fitted to prevent accidental damage to the lip of the oil seal, and the size inside the cavity should be suitable for the outer diameter and width of the oil seal.
Check whether the lip of the oil seal is damaged or deformed, and whether the spring has fallen off or rusted, and prevent the oil seal from being damaged by external extrusion and impact in the process of transportation. If the oil seal has oil return line, the installation direction of the oil seal and the rotation should be determined first.
◆When assembling, clean grease such as lithium base grease added with molybdenum disulphide should be applied between the lips of the oil seal in appropriate amount to prevent the shaft from causing dry friction phenomenon to the lips when starting instantly and affecting the overfilling amount of the lips. There should be no machined thread marks on the surface of the contact part of the oil seal lip. When assembling, apply sealant to the outer ring of the oil seal and wrap the keyway or step part of the shaft with hard paper etc. to avoid scratching or turning over the lip of the oil seal, or press the oil seal inwards with a special tool such as a guide over sleeve. Never smash and punch hard to prevent the oil seal skeleton from deforming and then squeezing off the spring and failing. If the lip is turned over, the spring falls off and the oil seal is skewed, it must be removed and re-installed.
◆ Use special installation tools correctly to protect the lip from damage. Even a slight scratch is not allowed, otherwise it will easily cause the oil seal to leak. It is recommended to use oil pressure equipment or sleeve tools for installation. The pressure does not have to be too great, and the speed should be even and slow.
◆When the oil seal is fitted into the shell, it should be done with even pressure. The oil seal should not be pressed into the inner hole at an angle when pressing in, otherwise it will cause deformation of the outer garden of the oil seal.
◆When assembling, attention must be paid to the installation direction. When internal sealing is needed, the side equipped with the self-tightening spring faces the inside of the case while the dust lip faces outwards.